Configuration
Checking for the jupyter-racs-f25 Conda Environment
If you participated in the Advanced Slurm session, you should already have the jupyter-racs-f25 environment available for today’s activity.
If you did not participate or want to make sure, connect to a Talapas login node through a shell application of your choice. For convenience, we recommend the Talapas OnDemand shell.
Load the miniconda module and run the conda env list command, piping the results to grep to check for an environment named jupyter-racs-s25.
module load miniconda3/20240410
conda env list | grep "jupyter-racs-s25"
If you have an environment of this name configured, the command will return a single line referencing an environment in your home directory. Skip to the JupyterLab configuration section.
jupyter-racs-s25 /home/emwin/.conda/envs/jupyter-racs-s25
If you do not have an environment of this name configured, the command will result in no output.
For today’s activity, copy the following folder to your home directory.
cp -r /projects/racs_training/intro-hpc-f25/jupyter-class/ .
Building the jupyter-racs-s25 Environment
To build the jupter-racs-s25 environment, create a new file named jupyter.yml in nano.
nano jupyter.yml
Copy the following text into the .yml file.
name: jupyter-racs-s25
channels:
  - conda-forge
dependencies:
  - numpy
  - pandas
  - matplotlib
  - seaborn
  - jupyter
  - r-base
  - r-essentials
  - r-irkernel
  - nodejs
  - ipywidgets
  - pip
  - pip:
    - git+https://github.com/conery/nbscan.git
Save nano with Ctrl+O, Enter to confirm writing out the file, and then Ctrl+X to exit.
Create the environment defined the juptyer.yml configuration file with conda env create.
conda env create -f jupyter.yml
When the build process is finished, you will get the following message.
#
# To activate this environment, use
#
#     $ conda activate jupyter-racs-s25
#
# To deactivate an active environment, use
#
#     $ conda deactivate
You are now ready to launch JupyterLab with this environment! You only need to the define jupyter-racs-s25 once; it can be reused as many times as you would like in the future.
Configuring the OnDemand JupyterLab App
Navigate to the OnDemand homepage and login with your DuckID.
From the Interactive Apps dropdown menu, select Jupyter.
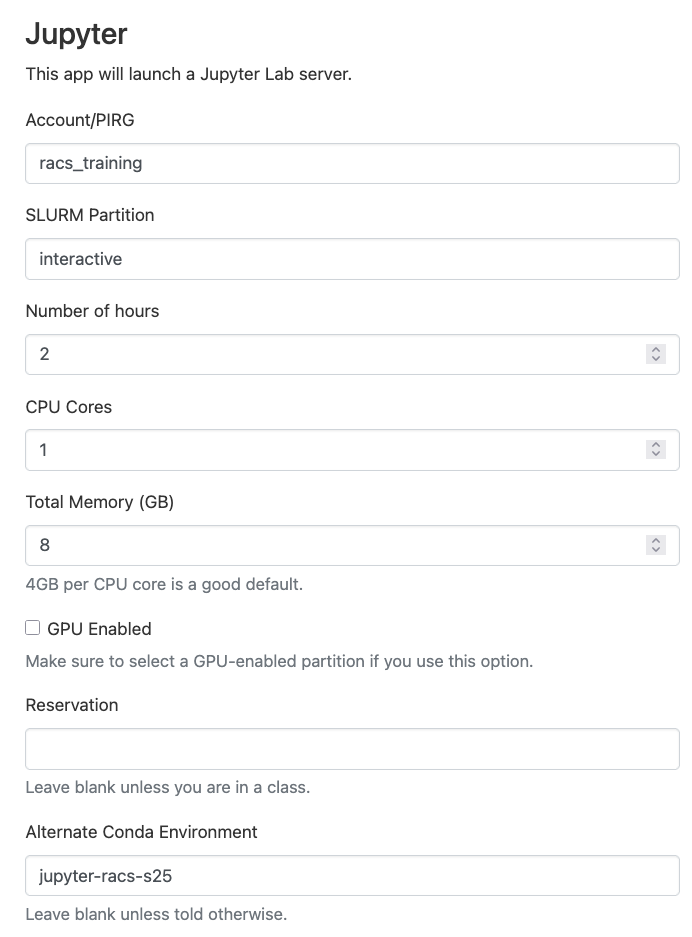 An example JupyterLab configuration screen
PIRG: During the training period, you can use racs_training, but you should use your lab’s PIRG after these trainings finish.
SLURM Partition: You have two choices: interactive (CPU-based jobs) or interactivegpu (if you need GPUs). Only request a GPU if your code or software pipeline can use one.
Number of hours: Be considerate and ask only for as much time as you need. You can ask for up to 12 hours on interactive, 8 hours on interactivegpu.
CPU Cores: You must ask for at least 1. Only code or software packages that are configured to do so can take advantage of multiple cores.
Total memory: We typically recommend 4GB per CPU core. You can ask for up to 100GB.
GPU enabled: Only check if you require a GPU. To use a GPU, this box must be checked AND you must run on the interactivegpu partition.
Reservation: If you don’t know what that means, please leave this box blank.
Alternate Conda Environment: To use Jupyter OnDemand with a custom environment, you need to pass in the name of the conda environment. For this exercise, use the jupyter-racs-s25 environment.
When you’ve adjusted your job settings, click the Launch button.
Launching JupyterLab from Sessions
You will automatically be navigated to the My Interactive Sessions page.
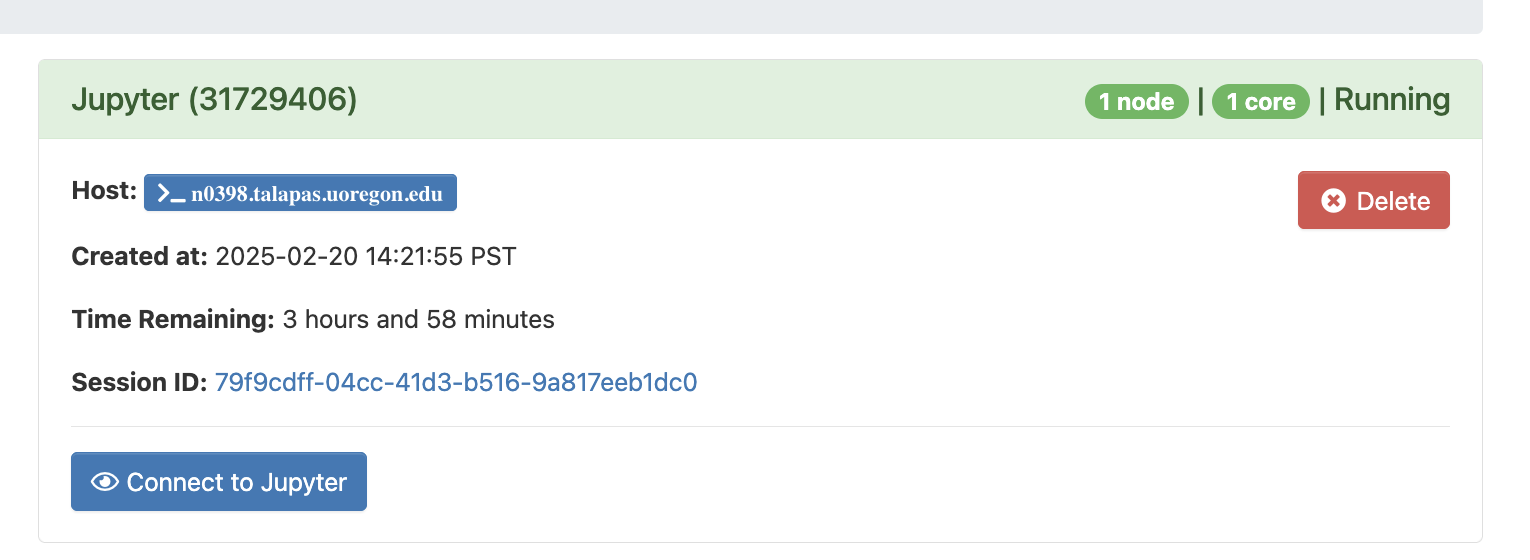
When your interactive job has been scheduled, the Connect to Jupyter button will display.
If the button does not appear, check the logs in the Session ID link. Keep in mind that the more resources you ask for, the longer it will to schedule.
Selecting a Kernel
JupyterLab supports interaction through Jupyter notebooks in the Notebook menu, through an interactive Python interpreter in the Console menu, and text editing functionality in the Other menu.
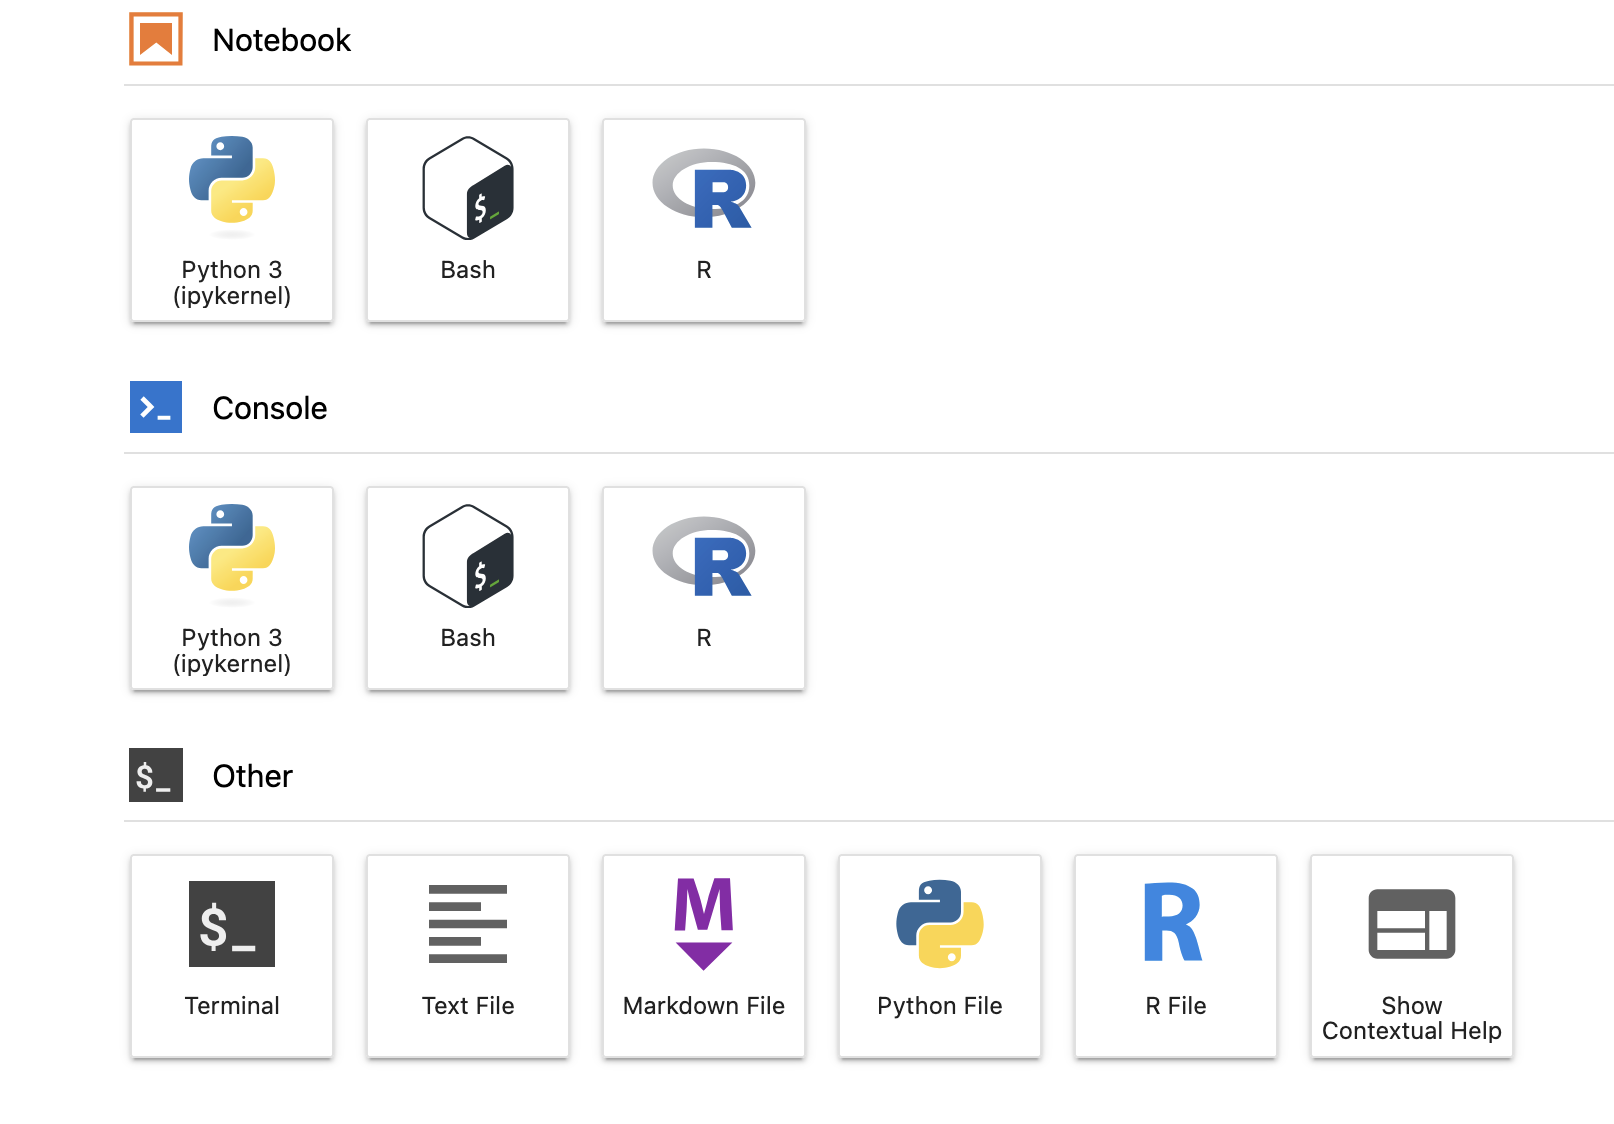
A single conda environment can have multiple kernels – for example, we created one that has both an R and Python kernel.
To run Jupyter Notebooks, you will need to select a kernel. You should select the Python 3 (ipykernel) from the Notebook menu to create, edit, and execute Jupyter Notebooks.
After clicking, you will be prompted to select a specific Python kernel. 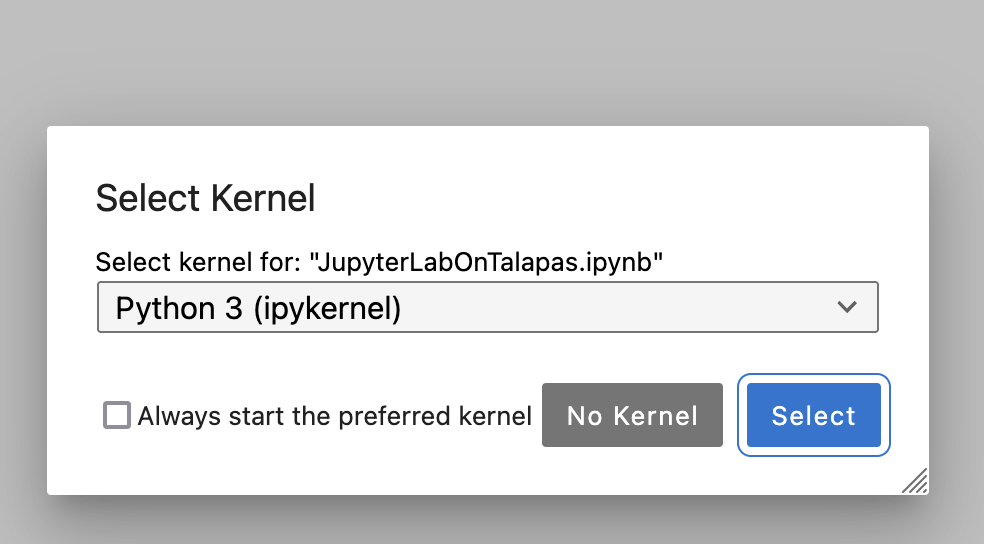
After selecting a kernel, open the jupyter_examples folder in your home directory from within the JupyterLab interface.
Exercise Notebooks
You can either reference raw notebooks from this folder or the annotated versions below.
Today’s lesson continues in the Notebooks section.